
Are you struggling with your golf swing? Tired of watching your ball sail into the rough or bunker? Your not alone. Thousands of amateur golfers face these same challenges every day on courses across the country. The good news? With the right technique and consistent practice, you can dramatically improve your swing and lower your scores this season.
As a certified golf instructor with 15+ years of experience teaching players of all skill levels, I’ve identified the key elements that make the biggest difference in developing a consistent, powerful golf swing. In this comprehensive guide, I’ll share my top 10 golf swing tips that will help you hit longer, straighter shots and enjoy more confidence on the course.
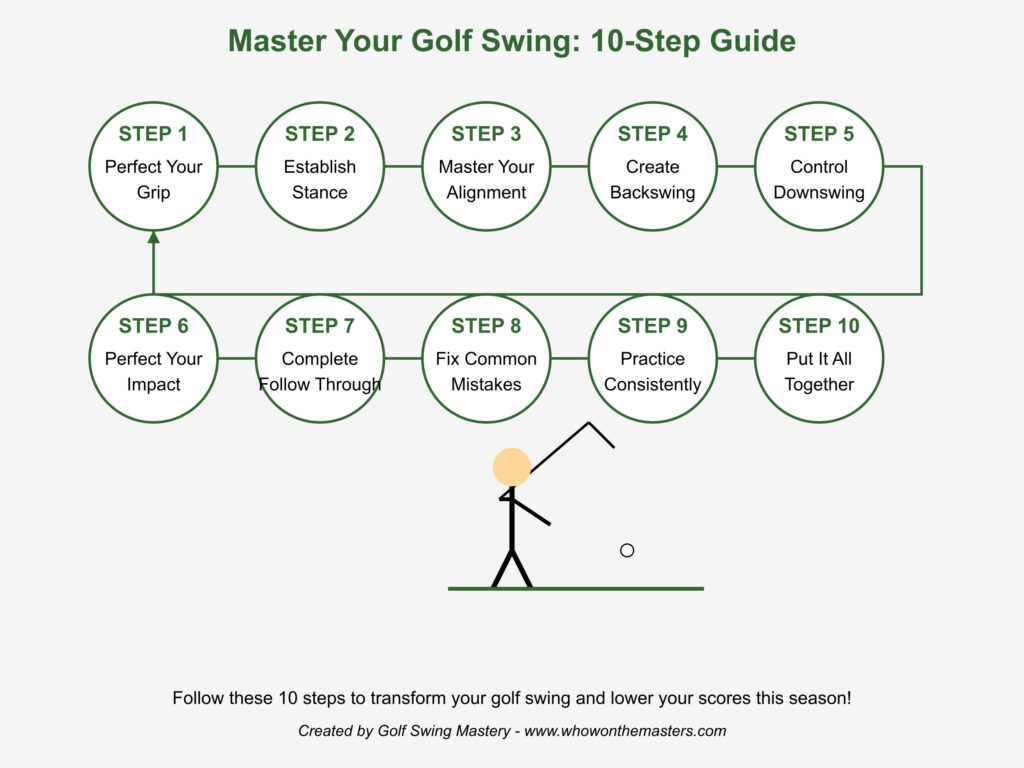
Table of Contents
Why Your Golf Swing is the Foundation of Your Entire Game
Before diving into specific techniques, lets understand why your swing matters so much. A effective golf swing isn’t just about looking good – it’s about creating a repeatable motion that delivers consistent results under pressure.
When you have a reliable swing, you can:
- Hit the ball farther with less effort
- Improve accuracy and reduce slices, hooks and other frustrating shot patterns
- Prevent common golf injuries by using proper mechanics
- Play with more confidence knowing you can trust your swing
- Focus on course strategy rather than swing mechanics during your round
The mechanics of a great golf swing involve a complex series of movements working together in perfect harmony. From grip to follow-through, each component plays a critical role in determining the quality of your shot. Even small adjustments to your technique can lead to significant improvements in your ball-striking and overall performance.
Tip #1: Perfect Your Golf Grip – The Foundation of Control
Your grip is your only physical connection to the club, making it arguably the most important fundamental in golf. The way you place your hands on the club directly influences the clubface position throughout your swing and at impact.
There are three primary grip styles used by golfers worldwide:
The Overlapping (Vardon) Grip: The most popular grip among professional golfers. Your pinky finger on your trailing hand (right hand for right-handed golfers) rests on top of the index finger of your leading hand. This grip provides excellent club control and promotes proper wrist hinge.
The Interlocking Grip: Used by legends like Jack Nicklaus and Tiger Woods, this grip involves interlocking the pinky finger of your trailing hand with the index finger of your leading hand. This creates a more unified connection between your hands and is ideal for golfers with smaller hands or less grip strength.
The Ten-Finger (Baseball) Grip: All ten fingers directly contact the club without overlapping or interlocking. This grip offers maximum power but can sometimes sacrifice control. It’s often recommended for beginners, juniors, and golfers with arthritis or hand injuries.
Regardless of which grip style you choose, the pressure should be firm but not tight. Imagine holding a small bird – secure enough that it won’t fly away, but not so tight that you would hurt it. This moderate pressure allows for proper wrist hinge and release through impact.
Tip #2: Establish Proper Stance and Posture for Stability
Your stance and posture create the foundation from which your entire swing operates. Poor setup position can make it virtually impossible to execute a efficient swing, no matter how good your mechanics are.
For proper stance:
- Position your feet shoulder-width apart for mid-irons (wider for longer clubs, narrower for shorter clubs)
- Align your feet, hips, and shoulders parallel to your target line
- Distribute your weight evenly between both feet, slightly favoring the balls of your feet
- Flex your knees slightly to maintain athletic balance throughout your swing
For optimal posture:
- Bend from your hips, not your waist, keeping your spine relatively straight
- Let your arms hang naturally from your shoulders
- Position the ball forward in your stance for longer clubs (driver, woods, long irons) and more centered for shorter clubs
- Keep your chin up slightly to allow proper shoulder rotation
Remember, good posture feels comfortable and athletic. You should feel balanced and ready to move, not rigid or stiff. Practice your setup position regularly in front of a mirror to develop muscle memory and consistency.
Tip #3: Master Your Alignment for Accuracy and Consistency
Even with perfect swing mechanics, improper alignment will send your ball off target. Many amateur golfers struggle with alignment without realizing it, leading to compensations in their swing that create inconsistency.
To improve your alignment:
- Always begin by standing behind the ball and picking a specific target in the distance
- Choose an intermediary target a few feet in front of your ball along your target line
- Align your clubface square to this intermediary target first
- Position your feet, hips and shoulders parallel to the target line (like railroad tracks)
A common mistake is aligning your body directly at the target rather than parallel to the target line. This often leads to an “open” stance and contributes to slicing the ball.
During practice sessions, use alignment sticks or clubs laid on the ground to provide visual feedback. Place one stick pointing at your target and another parallel to it aligned with your toes. This simple drill will quickly improve your awareness of proper alignment.
Tip #4: Create a Powerful Backswing with Proper Technique
The backswing is where you set up the power and positioning for the rest of your swing. A proper backswing creates the potential energy that translates into ball speed and distance.
Key elements of an effective backswing:
- Start with a one-piece takeaway, moving your shoulders, arms, and club as a unit
- Rotate your shoulders around your spine while maintaining your posture
- Allow your wrists to hinge naturally as the club reaches waist height
- Complete your shoulder turn until your back faces the target (about 90 degrees)
- Maintain flex in your trail knee to support proper weight transfer
- Keep your head relatively still to maintain your spine angle
Many golfers make the mistake of lifting the club with their arms instead of turning their shoulders. This creates a steep, narrow swing path that limits power and consistency. Think of your backswing as a rotational movement around your spine rather than an lifting motion with your arms.
Practice tip: Make slow-motion backswings in front of a mirror, stopping at various points to check your positions. Focus on making a full shoulder turn while maintaining your spine angle and posture.
Tip #5: The Downswing: Sequence and Timing for Maximum Power
The downswing is where many amateur golfers struggle, often rushing the transition and losing power and accuracy as a result. A proper downswing follows a specific sequence that maximizes both distance and control.
The correct downswing sequence:
- Begin with a subtle weight shift to your lead foot
- Rotate your hips toward the target while maintaining your back angle
- Allow your arms to drop naturally into the “slot” position
- Release the clubhead through impact with your hands leading
- Continue rotating your body toward the target
The most common downswing mistake is starting with the upper body and arms rather than the lower body. This “over-the-top” move causes slices, pulls, and loss of distance. Instead, think of your downswing as starting from the ground up, with your lower body initiating the movement.
To improve your downswing sequence, practice the “bump, turn, and hit” drill. Start at the top of your backswing, bump your lead hip toward the target, turn your torso, and then allow your arms and club to follow. This drill reinforces the proper sequencing that generates both power and accuracy.
Tip #6: Perfect Your Impact Position for Solid Contact
The moment of impact is what ultimately determines the quality of your shot. No matter how good the rest of your swing looks, if your impact position is flawed, your results will suffer.
Elements of a ideal impact position:
- Weight favoring your lead foot (about 60-80%)
- Hips rotated open toward the target
- Hands slightly ahead of the clubhead (forward shaft lean)
- Clubface square to the target
- Eyes focused on the ball or slightly inside it
- Firm wrists that maintain the lag created during the downswing
One of the most valuable training aids for improving your impact position is an impact bag. Practicing full-speed swings into an impact bag helps you feel the correct pressure points and positions at impact without worrying about ball flight.
Another effective drill is placing a towel or headcover about 2-3 inches in front of your ball during practice. Focus on striking the ball first, then the ground in front of it, without hitting the towel. This promotes the descending blow needed for clean iron shots.
Tip #7: Follow Through to Complete Your Swing
Many golfers underestimate the importance of a good follow-through, but it’s essential for completing the kinetic chain of your swing and ensuring maximum energy transfer to the ball. A proper follow-through also reduces stress on your body and helps prevent injuries.
Characteristics of a good follow-through:
- Complete weight transfer to your lead foot
- Full hip and shoulder rotation facing the target
- Chest pointing toward the target
- Arms fully extended
- Club positioned behind your head (like you’re “hugging yourself”)
- Back heel raised with only the toe touching the ground
A common mistake is “quitting” on the swing after impact, which robs you of distance and often causes inconsistent contact. Think of swinging through the ball rather than hitting at it, allowing your body to naturally rotate toward the target.
The “hold your finish” drill is excellent for improving your follow-through. After each practice swing, hold your finish position for a full 3 seconds, checking that your weight has fully transferred, your belt buckle faces the target, and your body is in good balance.
Tip #8: Fix These Common Swing Mistakes
Even experienced golfers can fall victim to these common swing flaws. Identifying and addressing these issues can lead to immediate improvement in your ball striking and consistency.
Swaying: Lateral movement away from the target during the backswing destroys your swing center and leads to inconsistent contact. Fix it by feeling like your trailing hip rotates around a fixed point rather than sliding away from the target.
Casting: Releasing the club too early on the downswing wastes power and creates weak shots. Practice maintaining the angle between your left arm and the club shaft until the last possible moment before impact.
Reverse Pivot: Weight shifting toward the target during the backswing and away during the downswing. This reverse weight shift saps power and consistency. Focus on proper weight transfer – away from the target during the backswing and toward the target during the downswing.
Over-swinging: Taking the club too far in the backswing reduces control and disrupts timing. Work on stopping your backswing when your left arm is parallel to the ground or when your shoulders have turned 90 degrees.
Coming over-the-top: This out-to-in swing path leads to slices and pulls. Practice dropping the club into the “slot” during the transition by starting your downswing with your lower body while keeping your back to the target momentarily.
Tip #9: Effective Practice Drills to Ingrain Your New Swing
Simply hitting balls at the range without purpose won’t lead to lasting improvement. These focused practice drills will help you internalize proper swing mechanics and develop consistency.
The Alignment Stick Path Drill: Place one alignment stick on the ground pointing at your target and another on the ground parallel to the first, outside the ball. Practice making swings that send the club along the path of the sticks, promoting an inside-out swing path.
The Towel Drill: Place a towel under both armpits and make swings without letting the towel fall. This promotes connection between your arms and body throughout the swing.
The Slow-Motion Swing: Practice full swings at 25% speed, focusing on perfect positions and transitions. This builds muscle memory and helps you identify problem areas in your swing.
The Clock Face Drill: Practice swinging to different “hours” on an imaginary clock face (7 o’clock, 9 o’clock, etc.) to develop feel and control at various swing lengths.
The Impact Bag Drill: Use an impact bag to practice achieving proper impact position with full speed and commitment, developing the feel of a powerful, compressed strike.
Dedicate at least 50% of your practice time to these technique-focused drills rather than just hitting balls. This deliberate practice approach will accelerate your improvement and lead to more consistent results on the course.
Tip #10: Putting It All Together for Your Best Golf Season Ever
Improving your golf swing requires patience, consistent practice, and a systematic approach. Rather than trying to implement all these changes at once, focus on one element at a time until it becomes natural.
Start with your grip, setup, and alignment, as these fundamentals provide the foundation for everything else. Once those feel comfortable, work on your backswing, then your downswing and follow-through.
Consider investing in a few lessons with a PGA professional who can provide personalized feedback and guidance. Even one or two lessons can dramatically accelerate your progress by identifying your specific areas for improvement.
Use video analysis tools (even just your smartphone camera) to record your swing from different angles. Comparing your positions to ideal positions can provide valuable insights about where you need to focus your practice.
Remember that building a better golf swing is a journey, not a destination. Be patient with yourself, celebrate small improvements, and enjoy the process of becoming a better golfer. With dedicated practice and application of these pro tips, you’ll be amazed at how quickly your swing—and your scores—can improve this season.